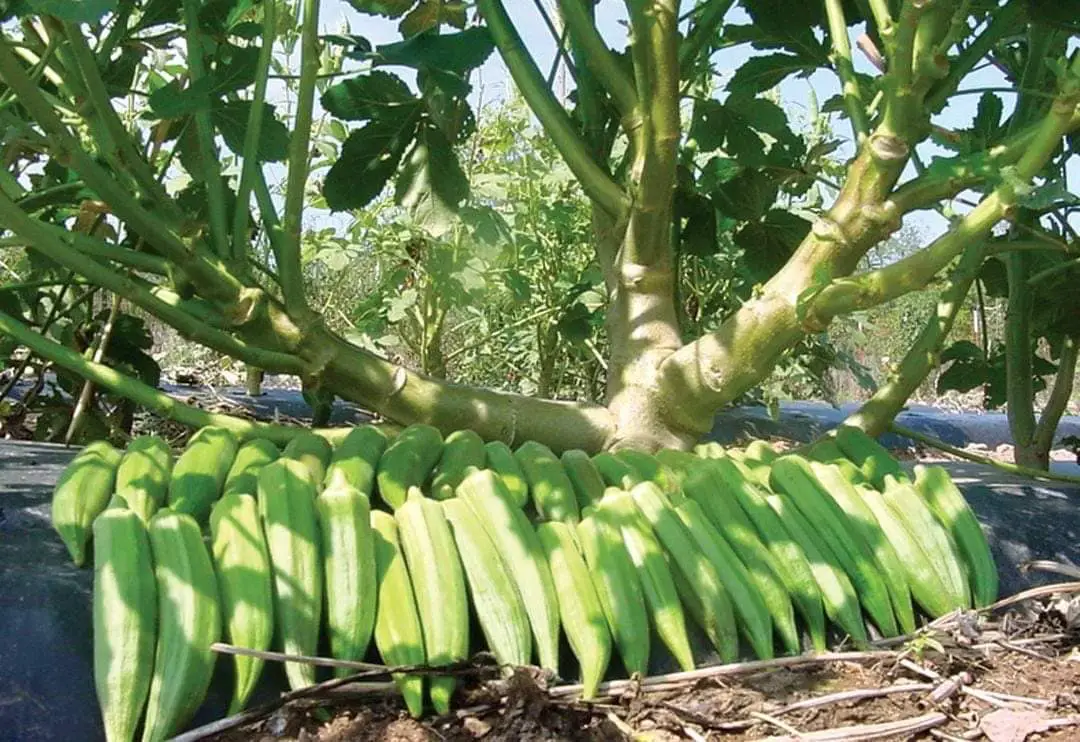
Okra farming in Kenya is slowly gaining traction, especially among small-scale farmers looking to diversify their crops. Also known as ladyfingers, okra is a green pod vegetable that thrives in warm climates and semi-arid areas.
While it is still a relatively new crop in Kenya, it has proven to be profitable when properly managed. Rich in fibre, folic acid, vitamin B, and antioxidants, okra offers health benefits such as reducing cancer and heart disease risks, as well as lowering blood sugar levels.
This makes it not just a marketable crop, but a healthy one too.

Best Practices for Okra Farming In Kenya
Okra farming requires good planning, favorable conditions, and the right variety to achieve high yields. Here’s everything you need to know before getting started.
Varieties of Okra Grown in Kenya
Several varieties of okra perform well in Kenya. The most common ones include:
- Pusa Sawani – A high-yielding and disease-resistant variety.
- Clemson Spineless – Known for its tender, spineless pods and uniform growth.
- White Velvet – Recognized for its creamy pods and smooth texture.
- Dwarf Green Variety – Shorter plants ideal for small gardens or limited space.
Choose the variety based on your region, soil conditions, and market preference.
Ideal Conditions for Growing Okra
Okra grows well in hot, tropical climates, making most parts of Kenya suitable. These conditions are key:
- Soil Type: Use well-drained sandy or loamy soil with a pH of 5.8 to 6.5.
- Soil Preparation: Prepare the soil two months before planting to allow compost and manure to decompose fully.
- Temperature: Ideal temperature ranges from 24°C to 30°C. Avoid growing during cold seasons.
- Water Requirements: Okra needs about 400 mm of water during the first two months. Ensure consistent moisture but avoid waterlogging.
How to Plant Okra
There are two main methods of growing okra: direct sowing in the field and raising seedlings in nurseries or trays. Here’s how to go about it:
- Direct Sowing: Make holes about 1.5 cm deep.
- Spacing: Use a spacing of 50 cm between rows and 30 cm between plants.
- Nursery Planting: Raise seedlings in plastic trays or seedbeds, then transplant after 2 to 3 weeks.
- Intercropping: You can intercrop okra with legumes like cowpeas or groundnuts to improve soil nitrogen and increase income.
Managing Okra Plants
Proper care leads to better harvests and healthier plants. Focus on the following:
- Weeding: Keep the field weed-free, especially during the first month.
- Fertilization: Apply organic compost or well-rotted manure during planting. Supplement with nitrogen-rich fertilizers like CAN during early growth.
- Pest Control: Watch for pests such as aphids, whiteflies, and fruit borers. Use safe insecticides or organic solutions like neem oil.
- Disease Prevention: Practice crop rotation to avoid fungal infections. Also, avoid overhead watering to prevent leaf blight.
Harvesting and Yields
Okra grows fast. You can begin harvesting just two months after planting.
- Maturity Period: Okra takes about 60 days to mature.
- Harvest Time: Pick pods 4 to 6 days after flowering. This ensures they are still soft and marketable.
- Harvesting Tip: Harvest early in the morning when the pods are fresh.
- Yield: With proper care, okra can yield between 40 to 50 tonnes per acre. Spacing, watering, and soil health all influence production.
Whether you are a beginner or an experienced farmer, incorporating okra into your farm can help improve profits and food variety. With the right seeds, good soil, and consistent care, you can harvest high-quality pods and tap into a growing local and regional market.


